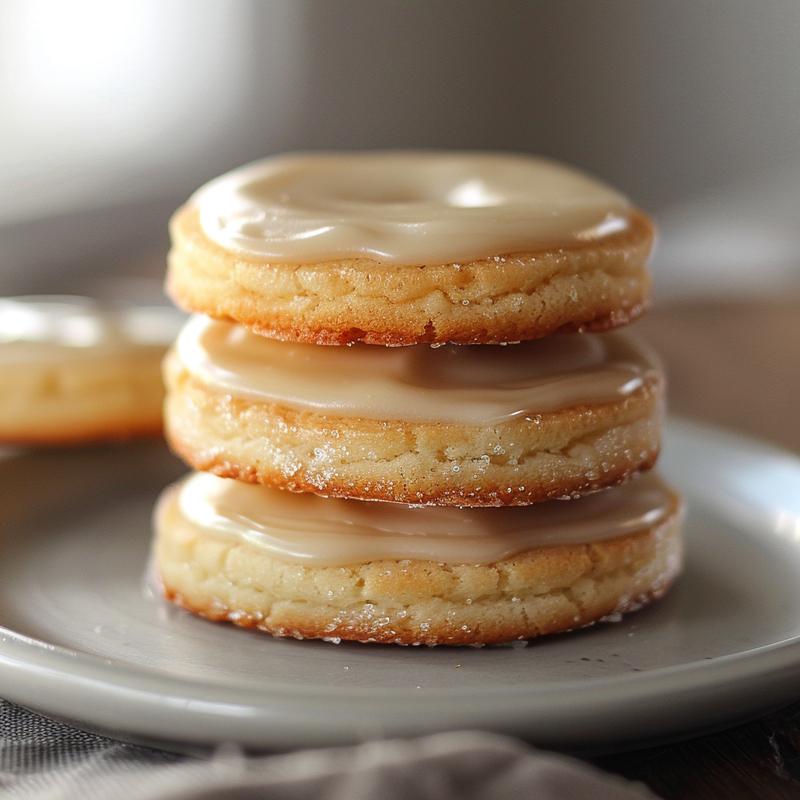
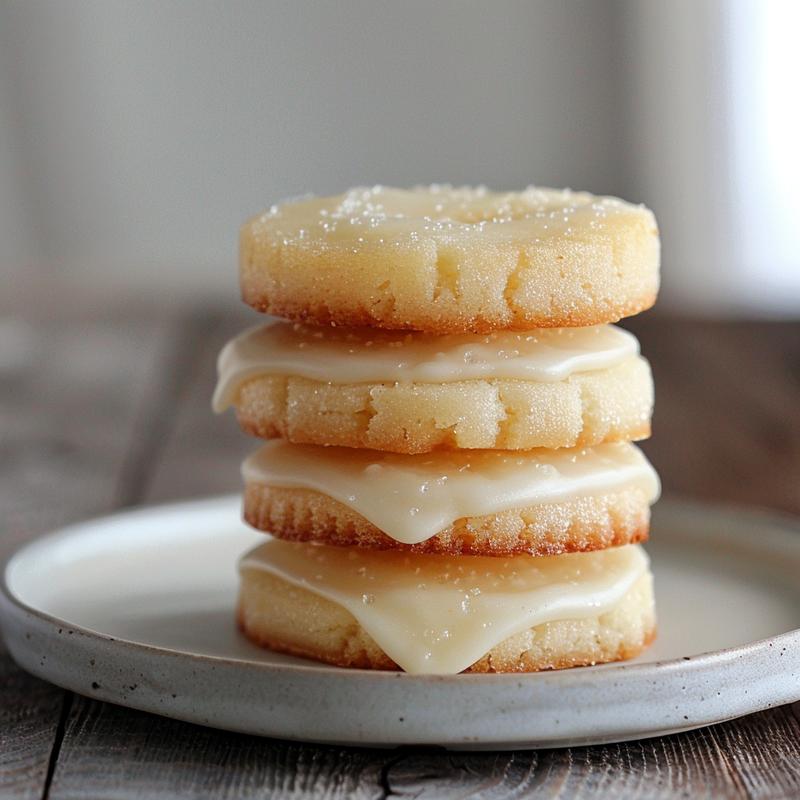
Welcome to the Sweet World of Sugar Cookie Icing!
Hey there, fellow cookie lovers! If you’re anything like me, you know that decorating cookies is more than just a craft—it’s an experience filled with joy, creativity, and a sprinkle of love. Today, we’re diving deep into the art of making the **ultimate homemade sugar cookie icing that hardens just right**. Perfect for any occasion, this icing will not only elevate your cookie game but also create sweet memories with friends and family. Ready to roll up your sleeves? Let’s get started!
Why You’ll Love This Recipe
This isn’t just any icing recipe; here’s why you’ll adore it:
- Perfectly Hardens: This icing dries to a beautiful finish that’s perfect for stacking and gifting without smudging.
- Versatile Flavoring: You can add vanilla, almond, or even lemon extract to customize the flavor of your icing.
- Easy to Color: Whether you’re going for pastels or vibrant hues, this icing holds food coloring beautifully.
- Simple Ingredients: With just a few pantry staples, you can whip up a batch in no time.
- Fun for All Ages: Get the kids involved! Decorating cookies is a fantastic way to bond and create together.
Ingredients You Will Need
Before we dive into the mixing bowl, let’s gather our ingredients. Here’s what you’ll need:
- 2 cups powdered sugar: This is the base of your icing, providing sweetness and structure.
- 2 tablespoons meringue powder: Essential for achieving that hardening effect.
- 5-6 tablespoons water: Adjust this based on your desired icing consistency.
- 1 teaspoon vanilla extract (optional): Adds a lovely flavor to your icing.
- Food coloring (optional): To make your cookies pop with color!
Step-by-Step Instructions
Now that we have everything ready, let’s make our icing!
Step 1: Mix the Base
In a mixing bowl, combine the powdered sugar and meringue powder.
Step 2: Add Water and Flavor
Pour in 5 tablespoons of water and add the vanilla extract if you’re using it.
Step 3: Mix Until Smooth
Using a hand mixer or stand mixer on low speed, blend the ingredients until well combined.
Step 4: Beat for Stiff Peaks
Increase the speed to medium and beat until the icing holds stiff peaks. This should take about 3-5 minutes.
Step 5: Adjusting Consistency
If the icing is too thick, add more water a teaspoon at a time until you reach the desired consistency.
Step 6: Color Your Icing
If you’re using food coloring, divide the icing into separate bowls and mix in the colors until fully incorporated.
Step 7: Prepare for Decorating
Transfer the icing to piping bags or squeeze bottles for easy decorating.
Step 8: Let It Dry
Allow your decorated cookies to dry at room temperature for at least 6-8 hours or until the icing hardens completely.
Pro Tips for Perfect Icing
Want to take your icing to the next level? Here are some expert tips:
- Mixing Speed: Start at low speed to avoid a sugar cloud, then increase to medium for stiff peaks.
- Humidity Control: On humid days, you might need to adjust the amount of water to keep the icing stable.
- Coloring Tips: Gel food colors work best for vibrant colors without changing the icing’s consistency.
- Test Consistency: Use a small spoon to check your icing; it should flow slowly but hold its shape.
- Keep It Covered: Icing can dry out quickly, so keep it covered with a damp cloth when not in use.
- Practice Makes Perfect: Don’t worry if your first batch isn’t perfect—keep practicing, and you’ll improve!
- Use Parchment Paper: Line your drying racks with parchment to prevent sticking.
- Storing Leftover Icing: It can be stored in an airtight container in the fridge for up to a week; just re-whip before using.
Common Mistakes and Troubleshooting
Even the best bakers run into hiccups now and then. Let’s tackle some common mistakes:
- Too Runny: If your icing is too runny, add a bit more powdered sugar to thicken it up.
- Too Thick: Add water a teaspoon at a time to thin it out.
- Cracking Icing: Ensure your cookies are completely cooled before icing; warm cookies can cause cracking.
- Colors Bleeding: Let each layer dry before adding another color to prevent bleeding.
Variations to Try
Feeling adventurous? Here are some fun variations to spice up your icing:
- Citrus Twist: Add lemon or orange zest for a refreshing flavor.
- Chocolate Icing: Substitute cocoa powder for some powdered sugar to create a delicious chocolate version.
- Spiced Icing: Mix in a pinch of cinnamon or nutmeg for a warm, cozy flavor.
- Vegan Option: Replace meringue powder with aquafaba (chickpea water) for a plant-based version.
Storage and Make-Ahead Instructions
You can prepare this icing in advance! Here’s how:
- Make Ahead: Prepare the icing and store it in an airtight container in the fridge for up to a week.
- Freezing: Freeze any leftover icing in a zip-top bag, then thaw and re-whip when you’re ready to use it.
Frequently Asked Questions
Got questions? I’ve got answers! Here are some common queries about sugar cookie icing:
- Can I use regular sugar instead of powdered sugar? No, powdered sugar is essential for a smooth texture.
- How can I make my icing brighter? Use gel food coloring for the most vibrant results.
- Can I leave out the meringue powder? It’s best to keep it for icing that hardens; however, you can experiment without it.
- What’s the best way to pipe the icing? A piping bag with a small tip works wonders, but squeeze bottles are great too!
- Can I add sprinkles on top? Absolutely! Just add them while the icing is wet.
- How long does it take for the icing to dry? Typically, 6-8 hours, but it can depend on humidity and thickness.
- Can I re-use leftover icing? Yes! Just store it properly and re-whip before using.
- Is this icing good for royal icing techniques? Yes! You can use it for detailed piping and decorations.
Nutritional Tips and Dietary Adaptations
While sugar cookies are a treat, you can make some adjustments:
- Use Organic Sugar: For a more natural option, choose organic powdered sugar.
- Low-Calorie Sweeteners: Experiment with powdered erythritol for a lower-calorie icing.
- Gluten-Free Cookies: Ensure your cookies are made with gluten-free flour for those with dietary restrictions.
Equipment Recommendations
Here are some handy tools that will make your icing journey smoother:
- Mixing Bowls: A set of various sizes is essential for mixing and coloring.
- Hand Mixer or Stand Mixer: For the best results, invest in a good-quality mixer.
- Piping Bags and Tips: These are crucial for decorating with precision.
- Food Coloring: Gel colors are preferred for their vibrant shades.
- Squeeze Bottles: Perfect for easy application and creating fun designs.
Serving Suggestions
Now that your cookies are beautifully iced, here are some fun serving ideas:
- Cookie Platters: Arrange your decorated cookies on a festive platter for parties.
- Gift Boxes: Package cookies in cute boxes for thoughtful gifts.
- Cookie Decorating Parties: Gather friends for a fun cookie decorating evening!
And there you have it! The ultimate guide to making sugar cookie icing that not only tastes great but also looks fabulous. Enjoy the sweet moments, and don’t forget to share your creations with your loved ones. Happy baking and decorating, friends!

Sugar Cookie Icing That Hardens
Ingredients
Method
- Combine powdered sugar and meringue powder in a bowl.
- Add water and vanilla, then mix until smooth.
- Beat on medium until stiff peaks form, about 3-5 minutes.
- If too thick, add water a teaspoon at a time until desired consistency.
- Divide and add food coloring if desired, then pipe onto cookies.
- Let cookies dry 6-8 hours until icing hardens.
Notes
Loved this recipe? Save it to your favorite Pinterest board so you can easily find it later! ✨