Discover the Magic of Christmas Lights Royal Icing Sugar Cookies
As the holiday season approaches, the warmth of family gatherings, the twinkling of lights, and the sweet aroma of baking fill our homes with joy. Among the beloved traditions, baking Christmas cookies stands out as a cherished activity that brings everyone together. This year, let’s elevate your holiday baking experience with the Ultimate Christmas Lights Royal Icing Sugar Cookies Recipe. Not only will these festive treats dazzle your guests, but they will also infuse your celebrations with creativity and joy. In this article, we’ll guide you through every step of creating these delightful cookies, ensuring they are as delicious as they are beautiful.
Why You’ll Love This Recipe
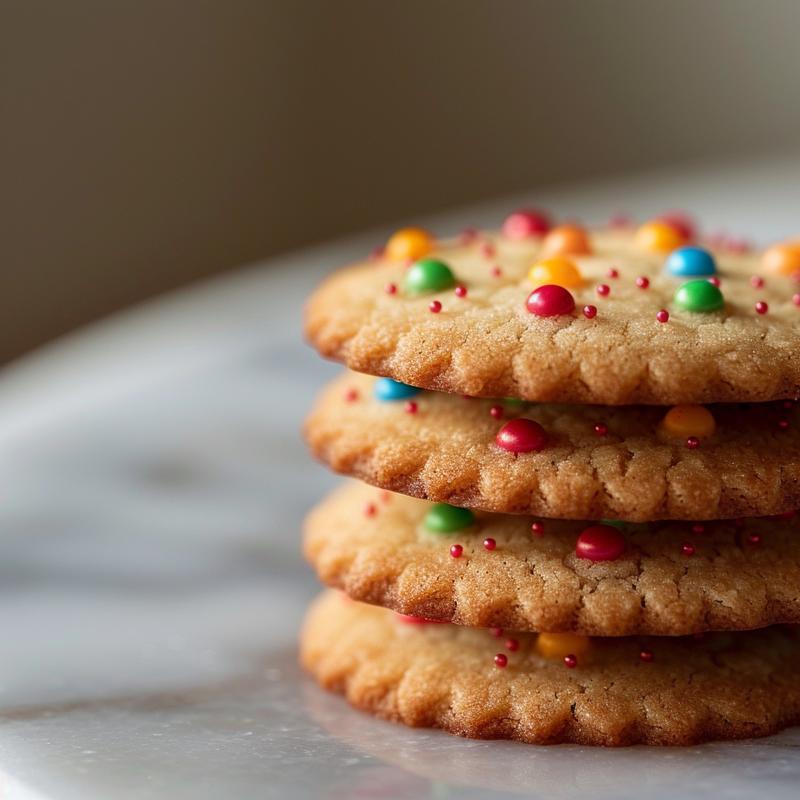
- Visually Stunning: These cookies are designed to mimic the vibrant charm of Christmas lights, making them a showstopper on any dessert table.
- Versatile & Fun: Perfect for holiday parties, gifts, or simply enjoying with family, these cookies can be tailored to fit any occasion.
- Easy to Follow: Our step-by-step instructions and pro tips ensure that bakers of all skill levels can create these cookies with confidence.
- Delicious Flavor: Made with high-quality ingredients, these cookies boast a delightful blend of sweetness and buttery goodness.
- Creative Outlet: Decorating with royal icing allows for endless creativity, letting your personality shine through each cookie.
Ingredients You’ll Need
To create your Christmas Lights Royal Icing Sugar Cookies, gather the following ingredients:
- 2 cups all-purpose flour: This forms the base of your cookies, providing structure and stability.
- 1 cup granulated sugar: Adds sweetness and helps achieve a lovely crispy texture.
- 1/2 cup unsalted butter: Essential for that rich, buttery flavor—ensure it’s at room temperature for easy creaming.
- 2 large eggs: Brings moisture and richness to your dough.
- 1 cup milk: Enhances the cookie’s tenderness and moisture.
- 1 teaspoon baking powder: The leavening agent that helps cookies rise slightly while baking.
- 1/2 teaspoon salt: Balances the sweetness and enhances the overall flavor.
- 1 teaspoon vanilla extract: Infuses a warm aroma and depth of flavor into the cookies.
Step-by-Step: How to Make Christmas Lights Royal Icing Sugar Cookies
Now that you have your ingredients ready, let’s dive into the baking process. Follow these simple steps to create your festive treats.
Step 1: Preheat the Oven
Begin by preheating your oven to 350°F (175°C). This ensures your cookies bake evenly.
Step 2: Cream the Butter and Sugar
In a mixing bowl, cream together the butter and sugar until the mixture is light and fluffy. This process incorporates air, which helps achieve a tender cookie.
Step 3: Add the Eggs and Vanilla
Add the eggs one at a time, mixing well after each addition. Then, stir in the vanilla extract to enhance the flavor.
Step 4: Combine Dry Ingredients
In a separate bowl, whisk together the flour, baking powder, and salt. This helps to evenly distribute the leavening agent.
Step 5: Mix Wet and Dry Ingredients
Gradually add the dry ingredients to the wet mixture, alternating with the milk. Mix until just combined, being careful not to overwork the dough.
Step 6: Shape the Cookies
Pour the dough into a greased baking dish or onto a floured surface. Roll out the dough to about 1/4 inch thick and cut out cookie shapes using your favorite cookie cutters.
Step 7: Bake the Cookies
Place the cookies on a baking sheet lined with parchment paper. Bake for 25-30 minutes, or until the edges are lightly golden. A toothpick inserted in the center should come out clean.
Step 8: Cool and Prepare Royal Icing
Let the cookies cool completely before decorating. While they cool, prepare your royal icing.
Creating Royal Icing
Royal icing is essential for achieving that beautiful, glossy finish on your cookies. Here’s how to make it:
- Ingredients: 2 egg whites, 3 cups powdered sugar, 1 teaspoon lemon juice.
- Instructions: Beat egg whites until frothy, gradually add powdered sugar, and mix until stiff peaks form. Add lemon juice for a smooth consistency.
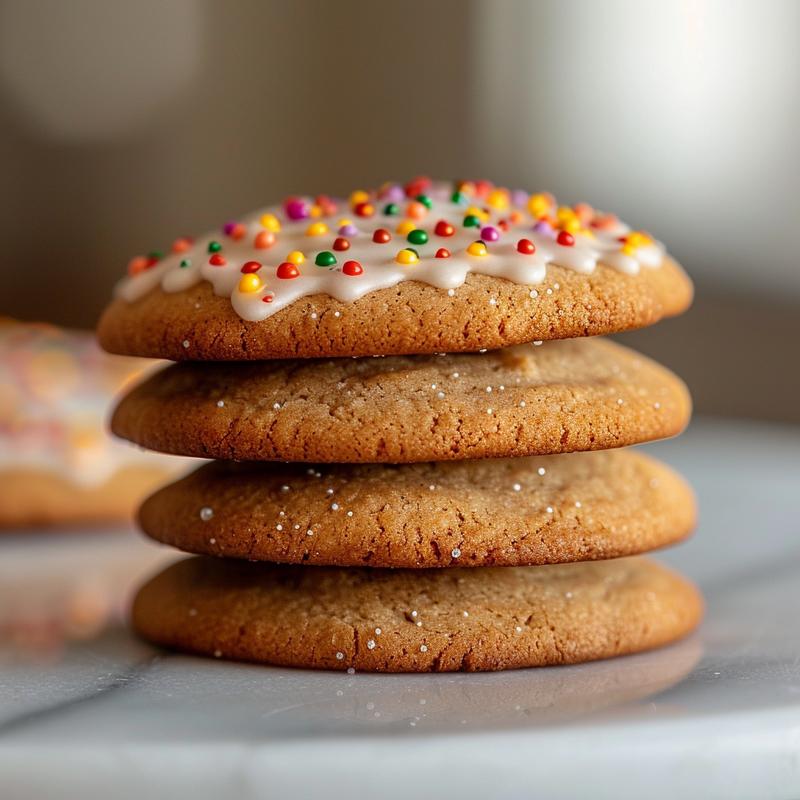
Decorating Your Cookies
Now comes the fun part—decorating! Use piping bags or squeeze bottles to apply the royal icing. You can create intricate designs to mimic Christmas lights by:
- Flooding: Outline the cookie and then fill in the area with a thinner icing.
- Detailing: Use a fine tip to draw lines that resemble light strands.
- Adding Color: Use gel food coloring for vibrant, fade-resistant hues.
Pro Tips for Perfect Cookies
- Room Temperature Ingredients: Ensure your butter and eggs are at room temperature for optimal mixing.
- Don’t Overmix: When combining wet and dry ingredients, mix until just combined to ensure tender cookies.
- Cooling Time: Allow cookies to cool completely before icing to prevent melting.
- Stiff Royal Icing: For outlining, your royal icing should be thick enough to hold its shape.
- Drying Time: Allow each layer of icing to dry fully before adding additional details.
- Storage: Store decorated cookies in an airtight container to maintain freshness.
Common Mistakes and Troubleshooting
Even seasoned bakers encounter hiccups. Here are common issues and how to fix them:
- Cookies Spread Too Much: Ensure your butter is not too soft. Chill the dough before shaping to prevent spreading.
- Icing Runs Off Cookies: This indicates a too-thin consistency. Add more powdered sugar to thicken.
- Colors Bleed: Allow each layer to dry completely before applying the next to prevent color mixing.
Variations to Try
Feel free to experiment with your cookies! Here are some delightful variations:
- Chocolate Sugar Cookies: Replace half of the flour with cocoa powder for a rich twist.
- Gingerbread Lights: Use gingerbread dough and royal icing to create a spiced version.
- Gluten-Free Option: Substitute all-purpose flour with a gluten-free blend to cater to dietary restrictions.
- Festive Sprinkles: Add festive sprinkles on top of the royal icing for added texture and charm.
Storage and Make-Ahead Instructions
You can make these cookies in advance to ease holiday stress:
- Freezing Dough: Wrap the dough tightly in plastic wrap and freeze for up to a month. Thaw in the refrigerator before using.
- Storing Cookies: Keep baked cookies in an airtight container at room temperature for up to a week.
- Decorating Ahead: Decorated cookies can also be stored in a cool, dry place for up to a week.
Frequently Asked Questions
- Can I use store-bought icing? Yes, but homemade royal icing offers better texture and flavor.
- How do I achieve vibrant colors in royal icing? Use gel food coloring instead of liquid for more concentrated hues.
- Can I make these cookies vegan? Substitute eggs with flaxseed meal and butter with a vegan alternative.
- What’s the best way to decorate cookies? Use piping bags for precise designs and a steady hand for best results.
- How long do these cookies last? Properly stored, they can last up to two weeks, but they are best enjoyed fresh!
- What if I don’t have royal icing? You can use a simple glaze made from powdered sugar and milk as an alternative.
- Can I freeze decorated cookies? Yes, but be cautious as the icing may become damaged if not carefully packed.
- What’s the key to a soft cookie? Ensure not to over-bake; they should be slightly soft in the center when removed from the oven.
Nutritional Tips and Dietary Adaptations
For those mindful of their nutritional intake, consider these adaptations:
- Reduce Sugar: Substitute half of the sugar with a sweetener like stevia for a lower-calorie option.
- Whole Wheat Flour: Use whole wheat flour instead of all-purpose for added fiber and nutrients.
- Low-Fat Butter: Opt for low-fat butter or a butter substitute to reduce saturated fat content.
Equipment Recommendations
Having the right tools can make your baking experience smoother:
- Mixing Bowls: Invest in a set of mixing bowls for easy ingredient preparation.
- Piping Bags: Essential for decorating cookies with precision—disposable ones make cleanup a breeze.
- Cookie Cutters: Choose festive shapes to enhance the holiday spirit in your baking.
Serving Suggestions
Presenting your cookies beautifully can elevate the experience:
- Cookie Platters: Arrange your decorated cookies on a festive platter for a stunning centerpiece.
- Gift Boxes: Pack cookies in decorative boxes as heartfelt gifts for friends and family.
- Cookie Bar: Set up a cookie decorating station at your holiday gathering for interactive fun.
As you embark on this delightful baking journey, remember that the heart of holiday baking lies in sharing moments with loved ones. These Christmas Lights Royal Icing Sugar Cookies are not just a treat; they are a canvas for creativity and a symbol of the joy that comes from baking together. May your kitchen be filled with laughter, warmth, and the sweet smell of cookies this holiday season. Happy baking!

Christmas Lights Royal Icing Sugar Cookies
Ingredients
Method
- Preheat oven to 350°F (175°C).
- Cream butter and sugar until fluffy.
- Add eggs and vanilla, mix well.
- Mix in dry ingredients and milk until combined.
- Roll out dough, cut shapes, and bake for 25 minutes.
Notes
Loved this recipe? Save it to your favorite Pinterest board so you can easily find it later! ✨