Get ready to unleash your inner artist this holiday season! Christmas is a magical time filled with love, laughter, and of course, delicious cookies. Whether you’re hosting a festive gathering or looking for a fun activity to enjoy with your little ones, these cookie decorating ideas are perfect for sparking creativity and joy in every little baker’s heart. From colorful sprinkles to whimsical designs, let’s dive into a world of sweetness that will make your holiday celebrations truly unforgettable!
Decorating cookies is not just about making them look pretty; it’s a way to gather friends and family around the kitchen table and share in the joy of creating something special together. So roll up your sleeves, grab your aprons, and let’s get started!
Why You’ll Love These Decorating Ideas
- Perfect for all ages: These decorating ideas are designed to be fun and engaging for kids and adults alike, making them a great activity for family gatherings.
- Hands-on creativity: Encourage your little ones to express their artistic side while developing fine motor skills through cookie decorating.
- Customizable fun: With a variety of ingredients and designs, each cookie can be a unique masterpiece that reflects your family’s style.
- Memorable moments: Creating and decorating cookies together can become a cherished holiday tradition that brings families closer.
- Delicious rewards: At the end of the decorating session, you’ll have tasty treats to enjoy or share with loved ones!
Essential Ingredients for Cookie Decorating
Before we jump into the fun, let’s gather our supplies! Here’s a list of ingredients you’ll need to make your cookie decorating experience a success:
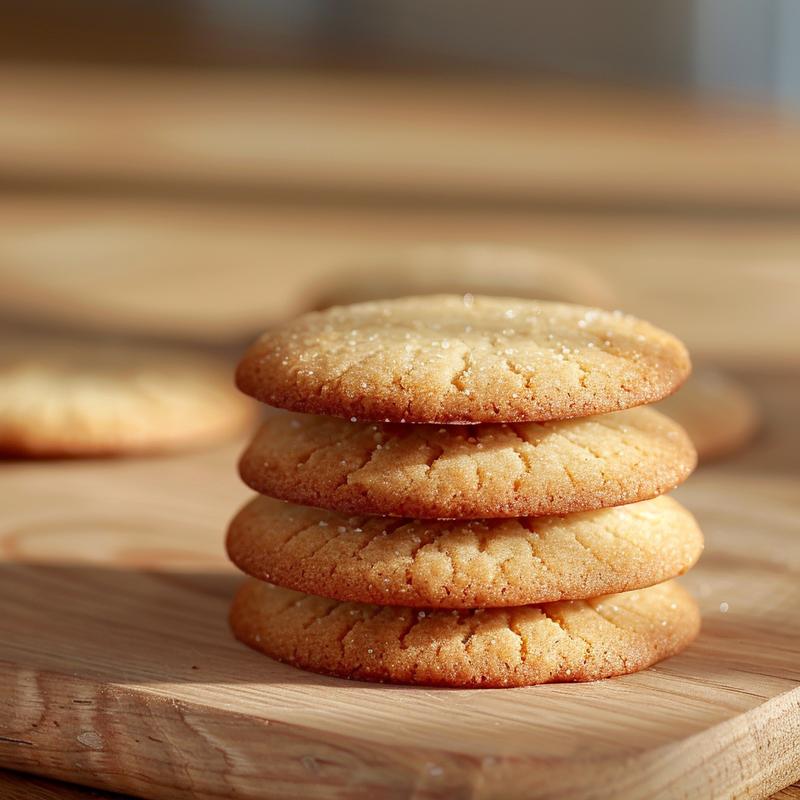
- Sugar cookies: Pre-baked and cooled, ready for decorating.
- Royal icing: Various colors for outlining and flooding your cookies.
- Sprinkles: A variety of shapes and colors for added flair.
- Edible glitter: For a touch of sparkle and magic.
- Candy canes: Crushed for a festive flavor and texture.
- Mini chocolate chips: Perfect for eyes and buttons on your cookies.
- M&M’s: Red and green for a pop of color.
- Colored frosting tubes: Easy to use for quick designs.
- Coconut flakes: For a snowy effect on your cookies.
- Chocolate melts: Various colors for dipping or drizzling.
- Candy eyes: Fun additions for monster or animal cookies.
- Fruit leather strips: Great for ribbons or bows on your cookies.
- Pretzel sticks: Perfect for making cookie designs more dimensional.
Pro Tips for Cookie Decorating Success
Now that we have our ingredients ready, let’s make sure you have all the tips you need for a successful decorating session:
- Prep your workspace: Organize all your ingredients in one place to make decorating smooth and enjoyable.
- Outline before flooding: Use royal icing to outline your cookies first, allowing you to create a barrier for the flooding icing.
- Use a toothpick: This handy tool can help spread icing and fix any imperfections.
- Let layers dry: Allow each layer of icing to dry before adding more details or decorations.
- Be creative with colors: Mix and match icing colors to create vibrant designs that pop.
- Involve the kids: Let children take the lead on their cookie designs, encouraging creativity and independence.
- Create a decorating station: Set up a table with all your supplies for easy access and a festive feel.
- Don’t stress about perfection: Remember, the joy is in the process, not just the final product!
Common Mistakes and Troubleshooting
Even the best bakers can run into challenges. Here’s how to avoid some common decorating pitfalls:
- Too runny icing: Add more powdered sugar to thicken your royal icing if it’s too runny and won’t hold its shape.
- Icing too thick: If your icing is too thick to pipe, add a few drops of water to reach the right consistency.
- Colors bleeding: Allow each layer of icing to dry before adding additional colors to prevent bleeding.
- Sticky cookies: If your cookies are sticking to the surface, dust with powdered sugar or cornstarch before decorating.
Twists on Classic Cookie Decorating
Want to mix things up? Here are some fun variations you can try for a unique twist on classic cookie decorating:
- Nature-themed cookies: Use greens and browns to create leaves and branches, perfect for a winter wonderland theme.
- Animal cookies: Make animal shapes and use candy eyes and colored icing to bring them to life.
- Holiday-themed cookies: Incorporate different holidays into your designs—think hearts for Valentine’s or eggs for Easter!
- Layered cookies: Try stacking smaller cookies to create a 3D effect, like cookie sandwiches or towers.
Storage and Make-Ahead Instructions
Want to prepare ahead of time? Here’s how to store your cookies and icing:
- Storing cookies: Keep decorated cookies in an airtight container at room temperature, separating layers with wax paper to prevent sticking.
- Making cookies ahead: Bake your sugar cookies in advance and store them in a cool, dry place until you’re ready to decorate.
- Piping icing: Make royal icing ahead of time and store it in an airtight container, but remember to stir before using.
Frequently Asked Questions
Here are some common questions about cookie decorating:
- Can I use regular icing instead of royal icing? Yes, but royal icing dries harder and is better for decorating.
- How do I make royal icing? Combine egg whites or meringue powder with powdered sugar and water until smooth.
- What types of cookies are best for decorating? Sugar cookies are ideal because they hold their shape well during baking.
- How long do decorated cookies last? Properly stored, they can last for up to two weeks.
- Can I freeze decorated cookies? Yes, but it’s best to freeze them before decorating to maintain the icing’s texture.
- What if I don’t have piping bags? You can use plastic sandwich bags with a small corner snipped off.
- Can I use fondant instead of icing? Absolutely! Fondant can provide a fun, smooth finish for your cookies.
- How do I clean up after decorating? Soak any piping tips and tools in warm soapy water to make cleaning easier.
Nutrition Tips and Dietary Adaptations
Looking to make your cookie decorating a bit healthier? Here are some tips:
- Whole grain flour: Substitute regular flour with whole wheat flour to add fiber to your cookies.
- Natural sweeteners: Consider using honey or maple syrup instead of refined sugar for a healthier option.
- Allergen-friendly options: Use gluten-free flour and dairy-free alternatives to cater to dietary restrictions.
Equipment Recommendations
Here’s a quick list of tools to make your decorating easier and more enjoyable:
- Piping bags: Essential for creating detailed designs with icing.
- Cookie cutters: Various shapes for making festive cookies.
- Spatula: Helpful for spreading icing smoothly.
- Baking sheets: Non-stick sheets for easy cookie baking.
- Cooling rack: Allows cookies to cool evenly after baking.
Serving Suggestions
Once your cookies are decorated, here are some fun ways to serve and enjoy them:
- Cookie platters: Arrange your cookies on a festive platter for a beautiful holiday centerpiece.
- Gift bags: Package decorated cookies in clear bags with ribbons for thoughtful gifts.
- Cookie decorating contest: Host a friendly competition among family and friends for the best-decorated cookie!
Conclusion
There you have it! A delightful array of Christmas cookie decorating ideas that will fill your home with joy and creativity this holiday season. Remember, the best part of decorating cookies is the time spent together, creating memories that will last a lifetime. So gather your loved ones, get your supplies ready, and let the holiday fun begin! Happy decorating!


20 Easy Christmas Cookie Decorating Ideas for Kids That Spark Joy
Ingredients
Method
- Bake sugar cookies in Christmas shapes and set aside.
- Set up decorating station with icing, sprinkles, and tools.
- Outline cookies with royal icing, then fill in and add designs with colored frosting.
- Decorate with sprinkles, edible glitter, crushed candy canes, and other toppings.
- Add fun details like candy eyes, fruit leather bows, and pretzel wreaths for festive flair.
- Let decorated cookies dry, then package as gifts or party favors.
Notes
Loved this recipe? Save it to your favorite Pinterest board so you can easily find it later! ✨