There’s something incredibly comforting about baking cookies, especially when they are as delightful as these gluten-free thumbprint cookies. I remember the first time I made thumbprint cookies for a gathering; the kitchen was filled with the sweet scent of baking and the laughter of my friends. We all gathered around the table, eagerly waiting for the cookies to cool, excited to fill those little indents with luscious jam. That’s the magic of cooking for me—it’s all about bringing people together and creating sweet memories, one bite at a time.
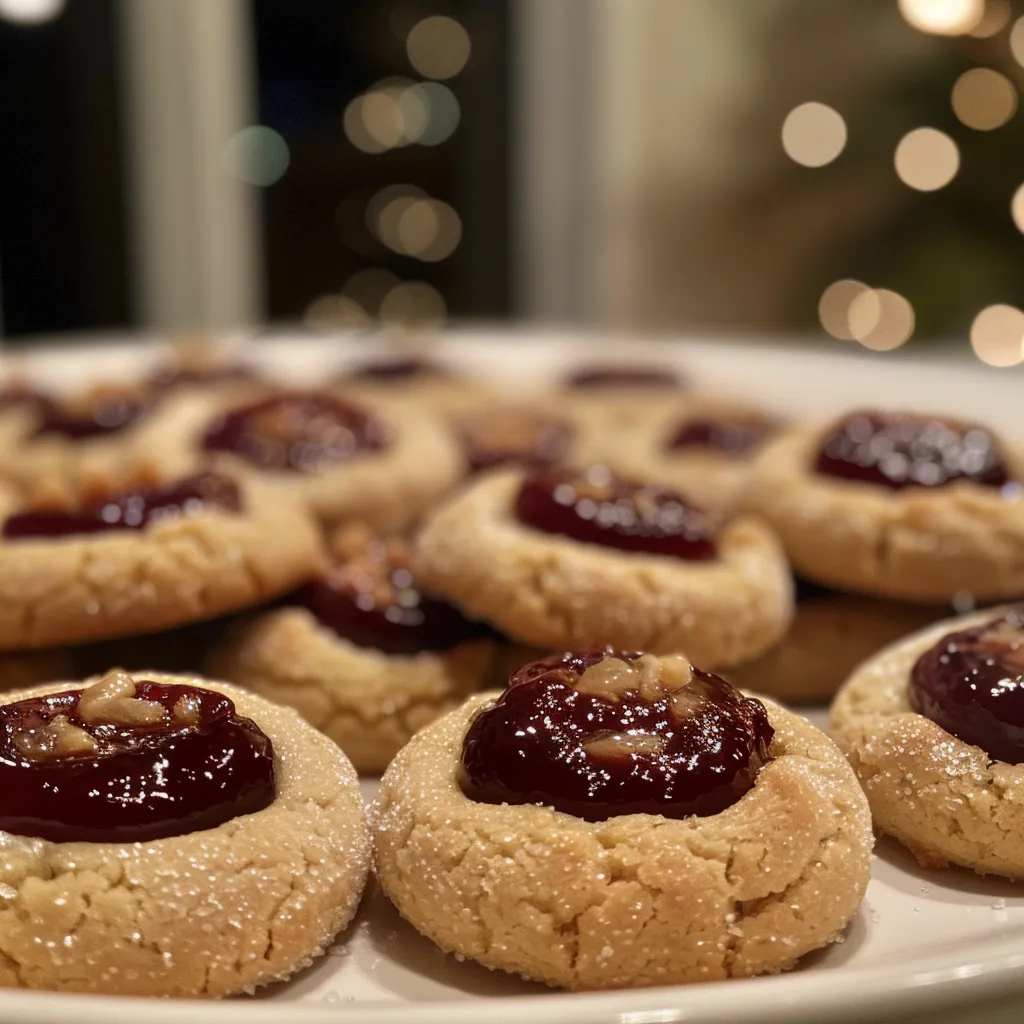
These gluten-free thumbprint cookies are a perfect blend of simplicity and deliciousness. With their chewy texture and fruity filling, they are not only a treat for the taste buds but also a joy to share with loved ones. Whether you’re hosting friends for a cozy holiday gathering or just want to indulge in something sweet, these cookies are sure to spread smiles!
Why You’ll Absolutely Love This Gluten-free Thumbprint Cookies (grain-free, dairy-free)
Let me tell you why these cookies deserve a spot in your recipe collection:
- They’re gluten-free and grain-free, making them a perfect choice for those with dietary restrictions.
- These cookies are dairy-free, so you can enjoy them without any guilt or discomfort.
- They’re easy to make with simple ingredients that you probably already have in your pantry.
- Perfect for the holidays or any occasion, these cookies are a delightful treat that everyone will love!
Ingredients You’ll Need
Let’s talk about the star players in this cookie recipe! I chose almond flour and coconut flour for their nutty flavors and health benefits. Almond flour provides a lovely richness, while coconut flour adds a subtle sweetness and helps bind everything together. Coconut sugar and maple syrup give these cookies just the right amount of sweetness, without being overpowering. And, of course, you can’t forget the fruit jam—this is where you can let your creativity shine! Choose your favorite flavor, whether it’s classic raspberry, tangy apricot, or even a homemade preserve.
You’ll find the full ingredient list with measurements in the recipe card below!
How to Make This Gluten-free Thumbprint Cookies (grain-free, dairy-free), Step-by-Step
Ready to get your bake on? Let’s dive into the step-by-step process to create these delightful cookies:
- Preheat the oven to 350°F (175°C) and line a baking sheet with parchment paper. This will ensure your cookies don’t stick and come off the sheet easily.
- In a large mixing bowl, combine the almond flour, coconut flour, coconut sugar, baking soda, and salt. Give it a good mix to combine all the dry ingredients.
- In a separate bowl, whisk together the melted coconut oil, maple syrup, and vanilla extract until well combined. The coconut oil should be warm enough to melt together with the other ingredients, giving it a nice, smooth texture.
- Pour the wet ingredients into the dry ingredients and mix until a dough forms. If the dough feels too crumbly, don’t be shy—add a little more maple syrup to bring it all together.
- Scoop about one tablespoon of dough and roll it into a ball. Place the balls on the prepared baking sheet, spacing them about 2 inches apart. They’ll spread a little as they bake!
- Using your thumb or the back of a spoon, gently press down in the center of each cookie to create a thumbprint. This is where the magic happens, as these little indents will hold the jam.
- Fill each thumbprint with about 1/2 teaspoon of your chosen fruit jam. Don’t worry about being perfect—each cookie will have its unique charm!
- Bake for 12-15 minutes or until the edges are golden. Allow to cool on the baking sheet for a few minutes before transferring to a wire rack to cool completely. Your kitchen will smell divine!

Pro Tips for the Best Results
Here are a few tips to ensure your thumbprint cookies turn out perfect every time:
- Make sure your coconut oil is melted but not too hot, as it can affect the dough consistency. Let it cool slightly if needed.
- If you find the dough too crumbly, add a little more maple syrup or a splash of water to help it come together.
- Experiment with different flavors of jam! From strawberry to fig, the possibilities are endless and can make these cookies feel new every time.
Serving Suggestions
These thumbprint cookies are delightful on their own, but here are some fun ways to serve them:
- Pair them with a cup of herbal tea or coffee for a cozy afternoon treat.
- Serve them on a festive platter during holiday gatherings, surrounded by other treats for a beautiful dessert table.
- Wrap them up in a cute box as homemade gifts for friends and family—everyone loves a sweet surprise!
Storage and Make-Ahead Tips
These cookies can be made ahead of time and stored for later enjoyment:
- Store the cooled cookies in an airtight container at room temperature for up to a week. They also freeze wonderfully—just layer them between parchment paper in a freezer-safe container!
- If you plan to freeze them, you might want to leave the jam off until you’re ready to serve them fresh. Just add a dollop of jam when you defrost them!
So there you have it—my heartfelt recipe for gluten-free thumbprint cookies! I hope you enjoy making these as much as I do, and may they bring joy and sweet moments to your table. Happy baking!

Gluten-free Thumbprint Cookies (grain-free, dairy-free)
Ingredients
Method
- Preheat oven to 350°F (175°C) and line a baking sheet.
- Mix dry ingredients in a bowl. Whisk wet ingredients separately.
- Combine wet and dry until dough forms; add more maple syrup if needed.
- Form dough into balls, place on sheet, and press thumbprint in center.
- Fill each with jam and bake for 12-15 minutes until golden.
Notes
Loved this recipe? Save it to your favorite Pinterest board so you can easily find it later! It’s the perfect way to keep all your sweet ideas in one place. ✨