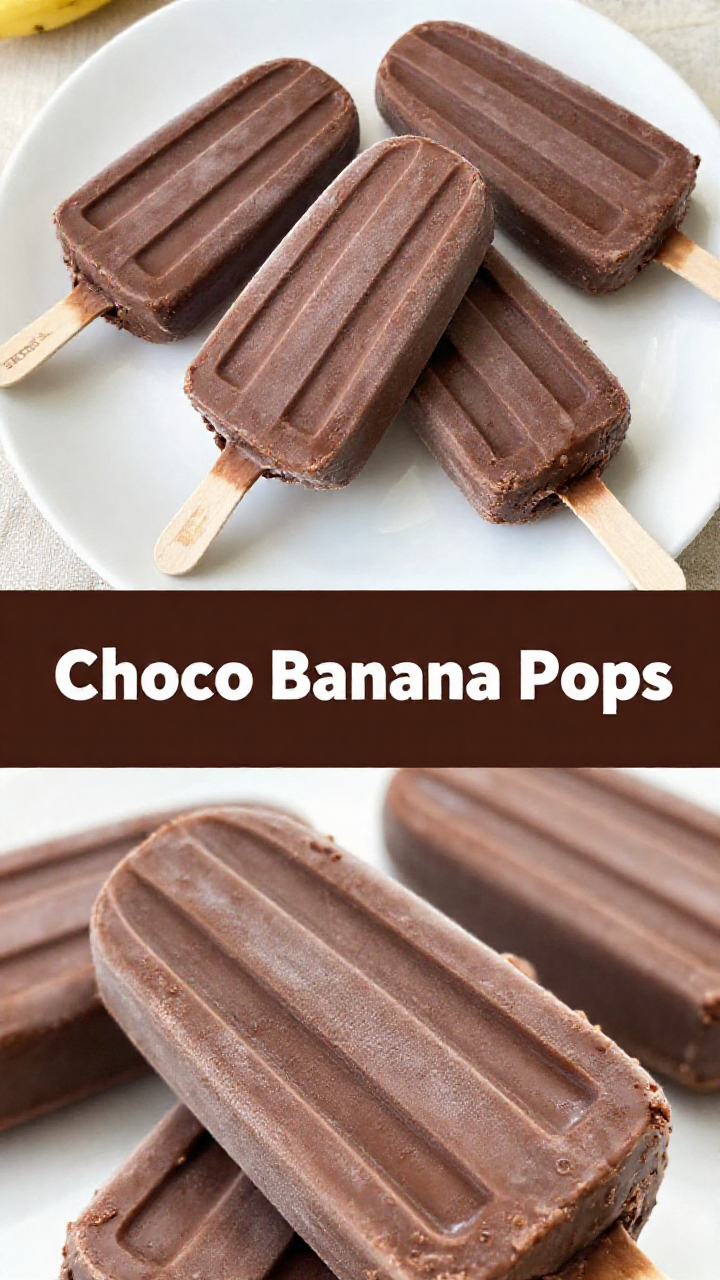
Hey friends! Tata here, and I’m so excited to share one of my absolute favorite treats: Homemade Creamy Chocolate Banana Popsicles! These aren’t just any popsicles; they’re a little slice of heaven on a stick, perfect for those hot summer days or when you just need a little pick-me-up. And the best part? They’re secretly healthy! This recipe is so easy, even your little ones can help make them.
I remember when I first started experimenting with homemade popsicles. I wanted something that tasted indulgent but was actually good for my family. After a few (delicious) attempts, I landed on this recipe, and it’s been a hit ever since! These creamy chocolate banana popsicles are a winner for toddlers who need healthy snacks and adults who need a guilt-free sweet treat.
Why You’ll Love This Banana Popsicle Recipe
Seriously, what’s not to love? But here’s a little breakdown of why these chocolate banana popsicles are about to become your new go-to:
- Healthy Indulgence: They taste like a decadent dessert, but they’re packed with the goodness of bananas, peanut butter, and yogurt.
- Easy to Make: This recipe is so simple, even your kids can help! Just blend, pour, and freeze.
- Customizable: You can easily adapt this recipe to suit your taste and dietary needs.
- Perfect for Any Age: From toddlers to adults, everyone will love these creamy, chocolatey treats.
- Great for Using Ripe Bananas: Got some bananas that are looking a little sad? Don’t throw them away! They’re perfect for this recipe.
If you’re looking for healthy toddler snacks, or just a refreshing treat, you’re in the right place. These creamy chocolate banana popsicles are a home run!
Ingredients for Chocolate Banana Popsicles
Here’s what you’ll need to whip up a batch of these delicious banana popsicles:
- 5 ripe bananas, broken into chunks (the riper, the sweeter!)
- 3 tablespoons natural peanut butter (choose smooth and unsweetened – or swap for almond or sunflower seed butter if there’s an allergy concern)
- 2 to 4 Medjool dates (adjust based on how sweet you want it)
- 2 tablespoons unsweetened cocoa powder
- 1/2 cup plain full-fat yogurt (Greek or regular – dairy or non-dairy based on your diet)
How to Make Creamy Chocolate Banana Popsicles: Step-by-Step
Ready to get started? Here’s how you can make these creamy chocolate banana popsicles:
- Prep the ingredients: Peel the bananas and break them into chunks. Remove the pits from the dates. If your dates are a little dry, you can soak them in warm water for 10 minutes to soften them up – this makes blending easier and ensures a smoother texture.
- Blend until creamy: Add all the ingredients – bananas, peanut butter, dates, cocoa powder, and yogurt – into a blender. Blend on high until the mixture is completely smooth and creamy. Scrape down the sides as needed to make sure everything is evenly combined.
- Taste and adjust: Give it a quick taste and add another date if you’d like it sweeter. The natural sweetness from the bananas and dates is usually enough, especially for little ones who aren’t used to added sugars.
- Pour into popsicle molds: Carefully spoon or pour the mixture into your popsicle molds. This recipe typically yields 8–10 popsicles, depending on the size of your molds.
- Freeze: Pop the molds into the freezer and let them set for at least 4–6 hours, or until completely frozen.
- Serve and enjoy! When ready to serve, run the mold under warm water for a few seconds to help release the popsicle. Watch your little one’s face light up with that first creamy chocolatey lick!
See? I told you it was easy! You’re going to love how simple it is to make these banana popsicles.
Pro Tips for Perfect Chocolate Banana Popsicles
Want to take your popsicle game to the next level? Here are a few pro tips:
- Use Ripe Bananas: The riper the bananas, the sweeter and creamier your popsicles will be. Those spotty bananas are your best friends here!
- Soak the Dates: If your Medjool dates are a little dry, soaking them in warm water for 10 minutes will soften them up and make them easier to blend.
- Blend Thoroughly: Make sure all the ingredients are completely smooth before pouring the mixture into the molds. Nobody wants chunks in their popsicles!
- Don’t Overfill the Molds: Leave a little space at the top of the molds, as the mixture will expand slightly when it freezes.
- Run Under Warm Water: To easily release the popsicles from the molds, run them under warm water for a few seconds.
Common Mistakes to Avoid
Even though this recipe is super simple, here are a few common mistakes to watch out for:
- Not Using Ripe Enough Bananas: Underripe bananas won’t give you the sweetness or creaminess you’re looking for.
- Not Blending Thoroughly: If you don’t blend the mixture until it’s completely smooth, you might end up with chunks in your popsicles.
- Overfilling the Molds: Overfilling can cause the popsicles to crack or be difficult to remove from the molds.
- Not Freezing Long Enough: Make sure the popsicles are completely frozen before trying to remove them from the molds.
Variations on This Popsicle Recipe
Want to mix things up a bit? Here are a few fun variations you can try:
- Add Chocolate Chips: Stir in some mini chocolate chips before pouring the mixture into the molds.
- Swirl in Peanut Butter: Swirl a little extra peanut butter into the mixture for a marbled effect.
- Add Berries: Throw in a handful of fresh or frozen berries for a fruity twist.
- Maple Syrup: If you want to avoid dates, you can substitute with maple syrup. Start with a tablespoon and adjust to taste.
- Make it Vegan: Use non-dairy yogurt and your favorite nut butter to make these popsicles vegan-friendly.
How to Store Your Homemade Popsicles
These popsicles are best enjoyed fresh, but if you have leftovers, here’s how to store them:
- In the Molds: You can store the popsicles in the molds in the freezer for up to a week.
- Wrapped Individually: For longer storage, remove the popsicles from the molds and wrap them individually in plastic wrap or parchment paper. Store them in a freezer-safe bag or container for up to a month.
Frequently Asked Questions (FAQ)
Got questions? I’ve got answers!
- Can I use frozen bananas?: Yes, you can! Just let them thaw slightly before blending.
- Can I use a different type of nut butter?: Absolutely! Almond butter, sunflower seed butter, or cashew butter would all work well.
- Can I add protein powder?: Sure! Add a scoop of your favorite protein powder to give these popsicles an extra boost.
- Are these popsicles safe for toddlers?: Yes, as long as your toddler isn’t allergic to any of the ingredients. Just make sure to supervise them while they’re eating the popsicles.
- Can I make these without dates?: Yes, if you don’t have dates on hand, you can use honey or maple syrup to sweeten the popsicles. Start with a tablespoon and adjust to taste.
Serving Suggestions
These popsicles are delicious on their own, but here are a few fun ways to serve them:
- As a Snack: These popsicles make a perfect afternoon snack for kids and adults alike.
- As a Dessert: Serve them as a light and refreshing dessert after a meal.
- At a Party: These popsicles are a fun and festive treat for parties and gatherings.
- With Toppings: Dip the popsicles in melted chocolate or sprinkle them with chopped nuts or sprinkles.
I hope you love this recipe as much as my family and I do! If you re looking for a healthy, delicious, and easy-to-make treat, these creamy chocolate banana popsicles are the perfect choice. Don’t forget to share your creations with me – I can’t wait to see what you come up with! And remember, if you re ever in doubt, just add more chocolate! Enjoy, friends!

Homemade Creamy Chocolate Banana Popsicles
Ingredients
Method
- Prep ingredients: Peel bananas, break into chunks. Remove pits from dates (soak in warm water if dry).
- Blend until creamy: Blend all ingredients until smooth, scraping sides as needed.
- Taste and adjust: Add another date if you’d like it sweeter.
- Pour into popsicle molds: Spoon or pour mixture into molds (yields 8–10 popsicles).
- Freeze: Freeze for at least 4–6 hours, or until completely frozen.
- Serve and enjoy! Run mold under warm water to release popsicle.
Notes