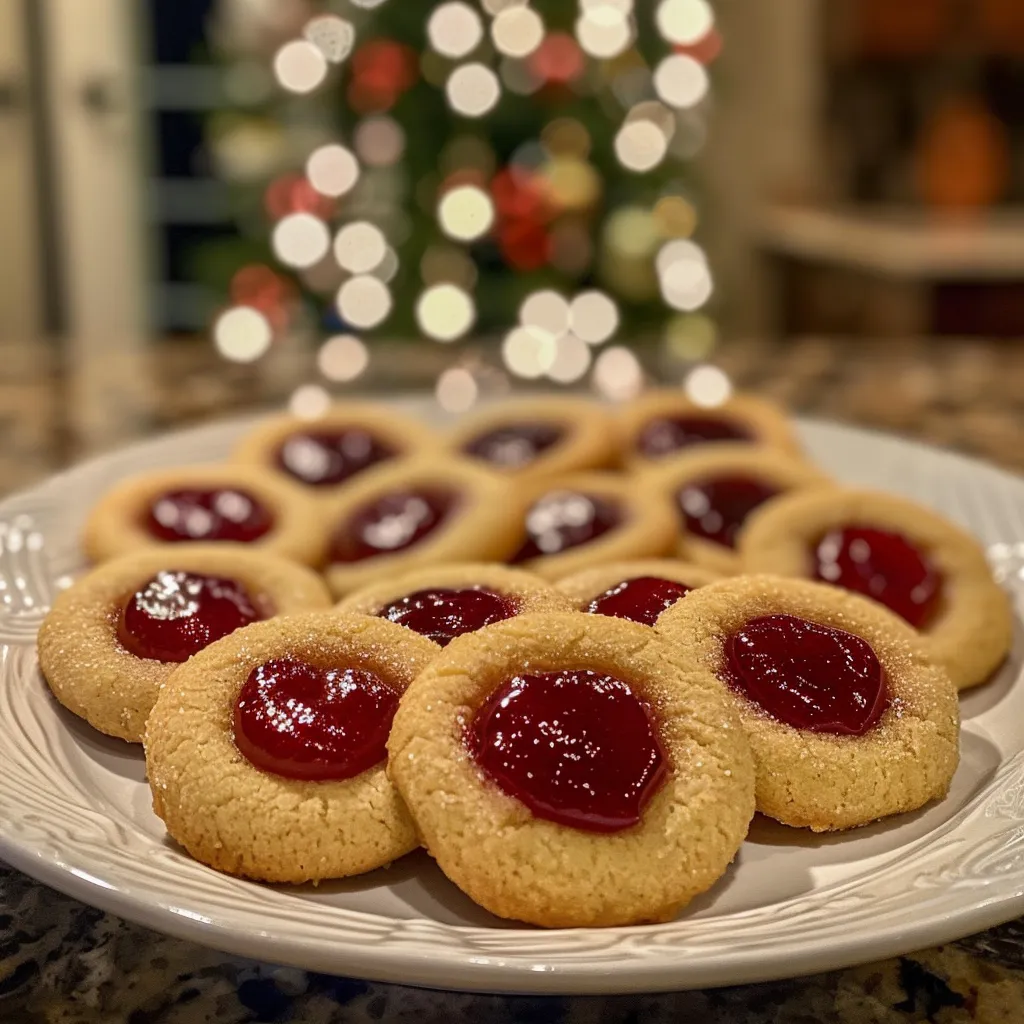
Ah, the sweet scent of Christmas baking wafting through the house! It’s that time of year when the kitchen becomes a cozy haven filled with laughter, joy, and the delightful anticipation of holiday treats. One of my absolute favorite things to whip up during the festive season is my beloved Thumbprint Christmas Cookies. These little gems are not just cookies; they’re a vessel for sweet memories, bringing together family and friends around the table. As I roll the dough and press my thumb into each one, I can’t help but remember the warmth of gathering around the kitchen with loved ones, sharing stories and laughter.
There’s something so nostalgic and comforting about thumbprint cookies. They remind me of my childhood, spent watching my grandmother bake in her kitchen, her hands dusted with flour and a smile on her face. Now, I carry on that tradition, creating my own sweet moments with each batch I make. Plus, these cookies are incredibly easy to prepare, making them perfect for those busy holiday weeks. So, grab your apron, and let’s dive into this delicious recipe together!
Why You’ll Absolutely Love This Thumbprint Christmas Cookies
These Thumbprint Christmas Cookies are a holiday staple for so many reasons, and I’m excited to share them with you! Here’s why they’re sure to become a favorite in your home:
- **Irresistible Flavor:** The combination of buttery dough and fruit preserves creates a delightful taste explosion in every bite.
- **Easy to Make:** With just a few simple ingredients, you can whip these up in no time, even if you’re new to baking.
- **Perfect for Sharing:** These cookies are ideal for cookie exchanges or holiday gatherings—everyone will want to take a few home!
- **Customizable:** You can switch up the fruit preserves to suit your taste or even try chocolate thumbprint cookies for a twist!
Ingredients You’ll Need
Let’s talk about the ingredients that make these cookies so special. They’re simple, but each one plays a crucial role in creating that perfect bite. You’ll need:
- 1 cup all-purpose flour
- 1/2 cup granulated sugar
- 1/2 cup unsalted butter, softened
- 1/4 teaspoon salt
- 1 teaspoon vanilla extract
- 1/4 teaspoon almond extract (optional, but highly recommended for that extra warmth!)
- 1/4 cup fruit preserves or jam (I love raspberry, but apricot is a close second!)
- Powdered sugar for dusting (optional, because who doesn’t love a little extra sweetness?)
You’ll find the full ingredient list with measurements in the recipe card below!
How to Make This Thumbprint Christmas Cookies, Step-by-Step
Now that we have our ingredients ready, let’s get baking! Follow these easy steps to create your own Thumbprint Christmas Cookies:
- Preheat your oven to 350°F (175°C) and line a baking sheet with parchment paper.
- In a mixing bowl, cream together the softened butter and granulated sugar until light and fluffy. This step is key; it helps to incorporate air into the dough!
- Add the vanilla extract, almond extract (if using), and salt to the butter mixture, mixing until well combined. The aroma at this point is heavenly!
- Gradually add in the flour, stirring until a soft dough forms. Don’t overmix; we want it to remain tender.
- Roll the dough into 1-inch balls and place them on the prepared baking sheet, spacing them about 2 inches apart.
- Using your thumb or the back of a spoon, create an indentation in the center of each cookie. Don’t be shy—make it a nice little well!
- Fill each indentation with about 1/2 teaspoon of fruit preserves or jam. You can be creative here, mixing flavors if you like!
- Bake for 12-15 minutes until the edges are lightly golden. Keep an eye on them to avoid over-baking!
- Allow the cookies to cool on the baking sheet for a few minutes before transferring them to a wire rack. Dust with powdered sugar if desired before serving.
Pro Tips for the Best Results
Here are a few of my favorite tips to ensure your Thumbprint Christmas Cookies turn out perfectly:
- **Use Room Temperature Ingredients:** Make sure your butter is softened to room temperature. This will help it cream better with sugar, resulting in a lighter cookie.
- **Experiment with Fillings:** Don’t be afraid to try different flavors of preserves or even chocolate ganache for a fun twist on the traditional thumbprint cookie!
- **Chill the Dough:** If your dough feels too soft to handle, pop it in the fridge for about 30 minutes before rolling. This will make it easier to shape the cookies.
Serving Suggestions
These cookies are perfect for any holiday gathering! Here are some fun ways to serve them:
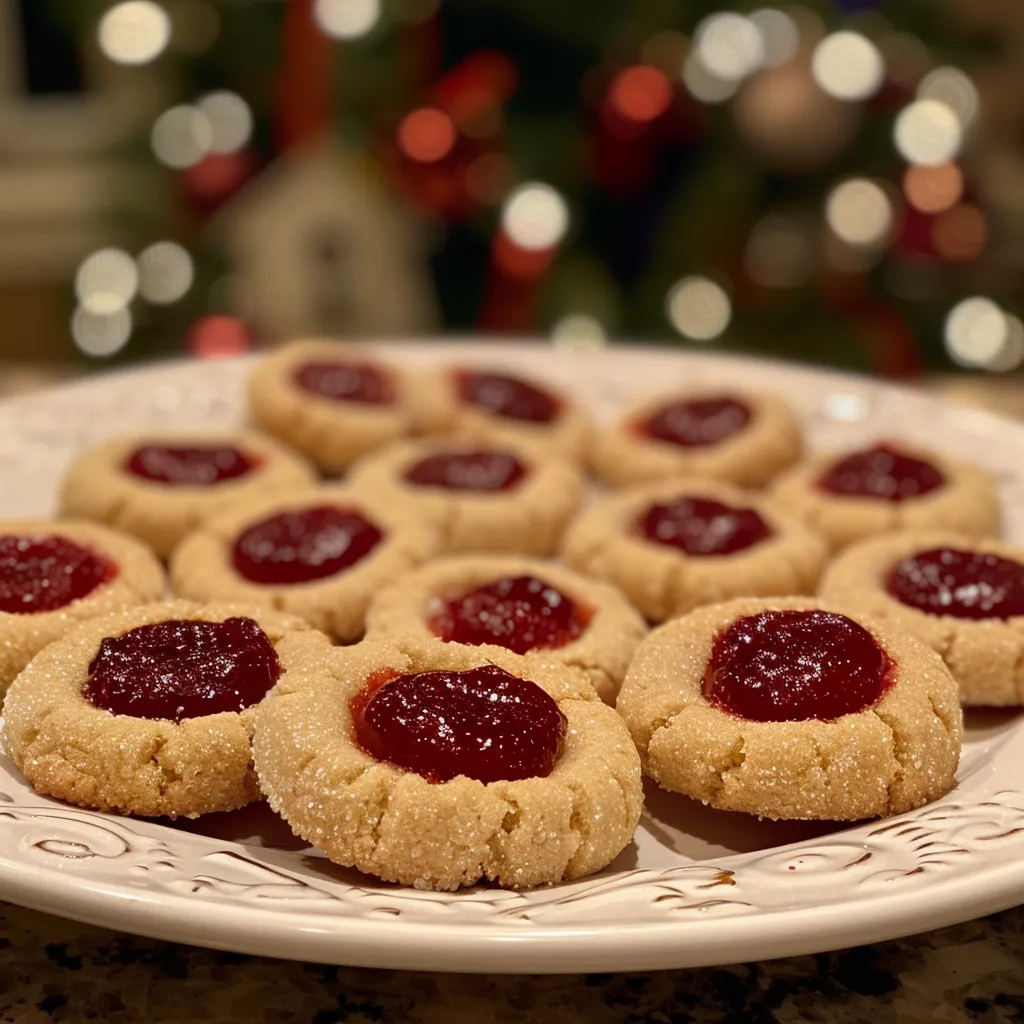
- **Cookie Platters:** Arrange them on a festive plate with other holiday cookies for a colorful dessert spread.
- **Gift Giving:** Place a few cookies in a cute tin or box, tied with a ribbon, for a heartfelt homemade gift.
- **Coffee or Tea Pairing:** Serve alongside a warm cup of coffee or tea—there’s nothing like a cozy drink to complement these sweet treats!
Storage and Make-Ahead Tips
Want to make these cookies ahead of time? No problem! Here’s how to store them:
- **Storage:** Keep your cookies in an airtight container at room temperature for up to a week. They’ll stay fresh and delicious!
- **Freezing:** You can freeze the unbaked dough balls, just make sure to separate them with parchment paper in a freezer bag. When you’re ready to bake, just pop them in the oven straight from the freezer—add a couple of minutes to the baking time.
As the holiday season approaches, I hope you take the time to make these Thumbprint Christmas Cookies. They’re not just about the cookies themselves but the moments they create around the table with those you love. Happy baking, friends!

Thumbprint Christmas Cookies
Ingredients
Method
- Preheat oven to 350°F (175°C) and line a baking sheet with parchment.
- Cream butter and sugar until light and fluffy, then mix in vanilla, almond extract, and salt.
- Gradually add flour and form a soft dough.
- Shape dough into 1-inch balls, place on sheet, and indent centers.
- Fill indentations with preserves and bake 12-15 minutes until golden. Cool and dust with powdered sugar if desired.
Notes
Loved this recipe? Save it to your favorite Pinterest board so you can easily find it later! It’s the perfect way to keep all your sweet ideas in one place. ✨