The Ultimate Guide to Creating Perfect Christmas Thumbprint Cookies
As the holiday season approaches, the warmth of home-baked treats fills the air, creating joyful memories that linger long after the last cookie has been enjoyed. Among the cherished recipes that bring families together, Christmas Thumbprint Cookies stand out with their festive appeal and delightful flavors. This guide will not only provide you with a foolproof recipe but also enrich your baking experience with tips, variations, and answers to your burning questions, ensuring your cookies are the star of the holiday season.
Why You’ll Love This Recipe
These Christmas thumbprint cookies are a true delight, offering a perfect blend of flavors and textures. Here’s why they are a must-bake this holiday season:
- Kid-Friendly Fun: This recipe is simple enough for children to help, turning baking into a delightful family activity.
- Customizable Flavors: With varied fillings, you can personalize each cookie to suit your family’s tastes.
- Beautiful Presentation: The vibrant colors of the jam or chocolate filling create stunning cookies that are sure to impress.
- Perfect for Gifting: Individually wrapped thumbprint cookies make thoughtful gifts for neighbors and friends.
- Festive Charm: These cookies embody the spirit of the holidays, perfect for cookie exchanges and festive gatherings.
Ingredients Breakdown
To create these delicious thumbprint cookies, gather the following ingredients:
- 1 cup unsalted butter: Ensure it is softened to room temperature for easy creaming.
- 1 cup granulated sugar: Adds sweetness and helps achieve a beautiful golden edge.
- 1 cup brown sugar, packed: Provides moisture and a rich flavor.
- 2 large eggs: Binds the ingredients together.
- 1 teaspoon vanilla extract: A touch of warmth and classic flavor.
- 3 cups all-purpose flour: The base of the cookie, providing structure.
- 1 teaspoon baking soda: Helps the cookies rise to the perfect texture.
- 1/2 teaspoon salt: Enhances the overall flavor.
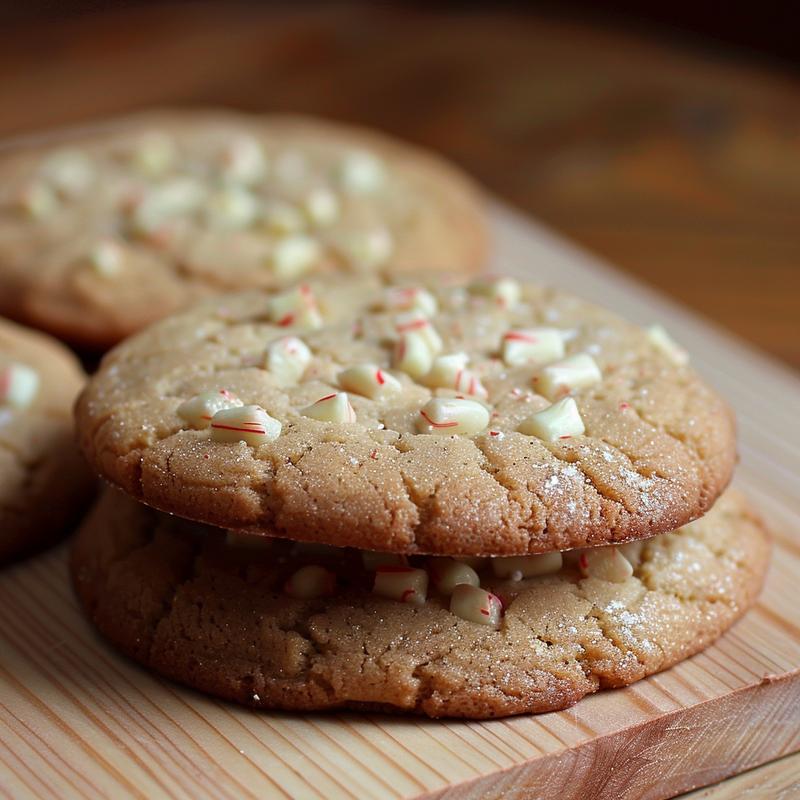
- 1 cup crushed peppermint candies: Adds a festive crunch and flavor.
- 1/2 cup white chocolate chips: Optional, for a creamy contrast.
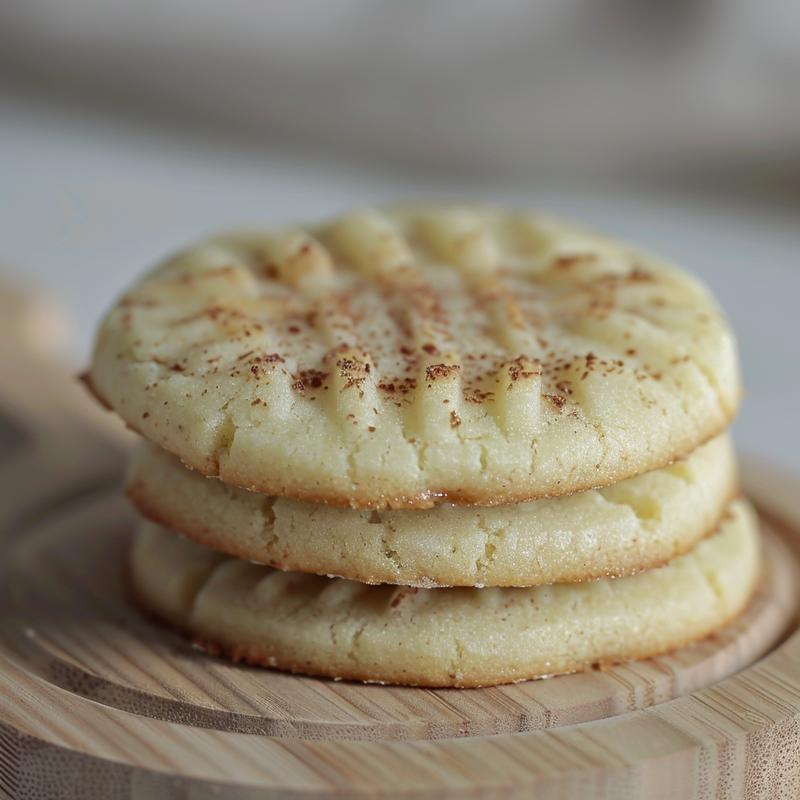
- 1/2 cup powdered sugar (for dusting): A sweet finishing touch.
- Plastic wrap or treat bags: For wrapping and gifting.
Step-by-Step Instructions
Now that you have the ingredients, let’s dive into the baking process:
- Preheat your oven: Set it to 350°F (175°C) to ensure even baking.
- Cream the butter and sugars: In a large bowl, beat together the softened butter, granulated sugar, and brown sugar until smooth and creamy.
- Add the eggs and vanilla: Mix in the eggs one at a time, followed by the vanilla extract until well combined.
- Combine dry ingredients: In another bowl, whisk together the flour, baking soda, and salt.
- Mix the dough: Gradually add the dry ingredients to the wet mixture, stirring until just combined.
- Fold in the candies and chips: Gently incorporate the crushed peppermint candies and white chocolate chips into the dough.
- Form the cookies: Drop tablespoon-sized balls of dough onto a baking sheet lined with parchment paper, spacing them about 2 inches apart.
- Make the thumbprints: Use your thumb to create an indentation in the center of each ball.
- Bake: Place the cookies in the oven and bake for 10-12 minutes, or until the edges are lightly golden.
- Cool and dust: Allow the cookies to cool on the baking sheet for a few minutes before transferring them to a wire rack. Once cooled, dust with powdered sugar.
- Wrap and gift: For an elegant presentation, wrap each cookie in plastic wrap or place them in treat bags.
Pro Tips for Perfect Thumbprint Cookies
To elevate your baking game, consider these expert insights:
- Room Temperature Ingredients: Ensure your butter and eggs are at room temperature for optimal mixing.
- Chill the Dough: If the dough is too soft, refrigerate it for 30 minutes to make it easier to handle.
- Use Quality Fillings: Opt for high-quality jams or chocolate for a richer flavor.
- Experiment with Spices: Add cinnamon or nutmeg for a unique twist on the traditional flavor.
- Keep an Eye on Baking Time: Ovens vary, so check the cookies a minute or two before the suggested time.
- Test Your Oven’s Temperature: An oven thermometer can help ensure accurate baking temperatures.
- Mix Well but Don’t Overdo It: Combine the ingredients until just mixed to maintain a tender texture.
- Store Properly: Keep cookies in an airtight container to maintain freshness.
Common Mistakes and Troubleshooting
Even seasoned bakers can encounter hiccups. Here are some common pitfalls and how to avoid them:
- Dough Too Sticky: If your dough is overly sticky, try chilling it before forming cookies.
- Cookies Spread Too Much: Ensure your butter is not too warm and refrigerate the dough if necessary.
- Burnt Edges: If your cookies are browning too quickly, reduce the oven temperature by 25°F.
- Filling Overflow: Avoid overfilling the thumbprint; a teaspoon is usually sufficient.
Variations to Delight Your Palate
While the classic recipe is delightful, here are some variations to explore:
- Chocolate Thumbprint Cookies: Substitute cocoa powder for half of the flour for a chocolatey twist.
- Nutty Delight: Add chopped nuts to the dough for an added crunch and flavor.
- Fruit Preserves: Experiment with different jams, like raspberry or apricot, for unique tastes.
- Spiced Version: Incorporate gingerbread spices for a festive holiday flavor.
Storage and Make-Ahead Instructions
To enjoy these cookies even longer, follow these storage tips:
- Room Temperature: Store cookies in an airtight container for up to a week.
- Freezing: Freeze unbaked dough, wrapped tightly, for up to 3 months. Bake directly from the freezer, adding a minute or two to the baking time.
- Make Ahead: Prepare the dough a day in advance and refrigerate until ready to bake.
Frequently Asked Questions
Here are answers to some common questions regarding Christmas thumbprint cookies:
- Can I use margarine instead of butter?: While margarine can work, it may alter the flavor and texture.
- What can I substitute for eggs?: Use applesauce or flaxseed meal mixed with water as a binding substitute.
- How do I prevent the cookies from spreading?: Ensure your butter is at the right temperature and chill the dough if needed.
- Can I use gluten-free flour?: Yes, use a 1:1 gluten-free flour substitute for a gluten-free version.
- How do I know when they are done?: Look for lightly golden edges; the centers will firm up as they cool.
- What type of jam works best?: Use thick, high-quality jams to prevent overflow.
- Can I add chocolate chips?: Absolutely! Fold in chocolate chips for a delicious chocolatey surprise.
- How should I store leftover cookies?: Keep them in an airtight container to maintain freshness.
Nutritional Tips and Dietary Adaptations
For those mindful of dietary needs, consider these adaptations:
- Lower Sugar Options: Substitute with a sugar alternative like erythritol for a healthier option.
- Dairy-Free Version: Use coconut oil or a vegan butter substitute for a dairy-free cookie.
- Nut-Free Options: Ensure all ingredients are nut-free, especially if using store-bought jam.
Equipment Recommendations
To ensure the best results, use quality baking tools:
- Stand Mixer: For effortless mixing of ingredients.
- Silicone Baking Mat: Prevents sticking and ensures even baking.
- Cookie Scoop: For even-sized cookie portions.
- Offset Spatula: Helps easily transfer cookies without breaking.
Serving Suggestions
Serve your cookies with style and flair:
- Pair with Hot Cocoa: Enjoy these cookies alongside a warm mug of hot chocolate for a cozy treat.
- Serve on a Festive Platter: Arrange cookies on a decorative plate for a beautiful holiday display.
- Include in Gift Baskets: Add these cookies to holiday gift baskets for a personal touch.
In conclusion, these Christmas thumbprint cookies are more than just a recipe; they encapsulate the spirit of the holidays, inviting warmth and joy into your home. With this comprehensive guide, you’re equipped to create delightful cookies that not only taste wonderful but also tell the story of cherished moments spent with loved ones. Happy baking!

How to Make Perfect Christmas Thumbprint Cookies (Kid-Friendly Recipe!)
Ingredients
Method
- Preheat oven to 350°F (175°C).
- Cream butter, granulated sugar, and brown sugar until smooth.
- Add eggs and vanilla, mix well. Combine dry ingredients and mix into wet. Fold in candies and chocolate chips.
- Drop tablespoon-sized balls onto parchment, bake 10-12 mins until golden.
- Cool, dust with powdered sugar, then wrap or bag for gifting.
Notes
Loved this recipe? Save it to your favorite Pinterest board so you can easily find it later! ✨