
Hey there, lovely friends! As the holiday season rolls around, I find myself reminiscing about the times spent in the kitchen with my family, surrounded by laughter, warmth, and the sweet aroma of baked goods wafting through the air. One of my fondest memories is making cookies with my grandma, who had a special knack for turning simple ingredients into edible works of art. This year, I wanted to recreate that magic with a twist, and that’s how these delightful Marbled Snowflake Cookies came to life! They’re not just cookies; they’re a celebration of togetherness, love, and sweet moments that we cherish.
Imagine taking a bite of a soft, buttery cookie that’s both rich and comforting, with a beautiful marbled design that looks like a winter wonderland on your plate. These cookies are perfect for holiday gatherings, cozy nights by the fireplace, or simply as a treat to share with friends. So, grab your apron, and let’s dive into the joy of baking together!
Why You’ll Absolutely Love This Marbled snowflake cookies!
These marbled snowflake cookies are sure to become a cherished addition to your holiday traditions for many reasons:
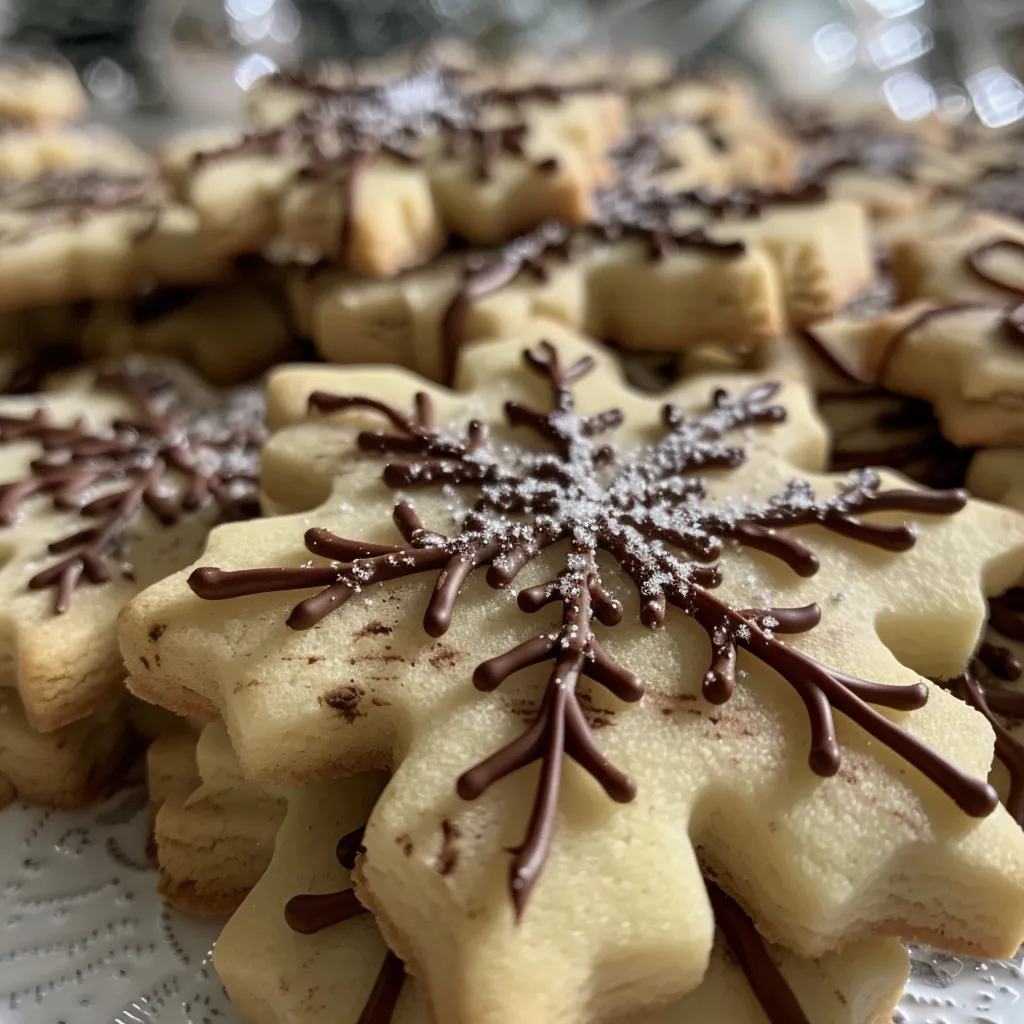
- They’re visually stunning: The marbled design adds a festive touch that’s sure to impress your guests.
- Perfectly balanced flavors: With a delightful mix of buttery sweetness and rich chocolate, these cookies will satisfy any sweet tooth.
- Easy to make: Even if you’re new to baking, this recipe is straightforward and fun, making it a great project for the whole family.
- Sharing is caring: These cookies are perfect for gifting or bringing to gatherings, spreading joy and sweetness wherever you go.
Ingredients You’ll Need
For these marbled snowflake cookies, I’ve chosen simple yet delightful ingredients that come together beautifully. We have all-purpose flour, which gives the cookies their structure; granulated sugar for sweetness; and unsalted butter, which adds that rich, creamy goodness we all love. Don’t forget the egg and vanilla extract, which bring everything together with a lovely flavor. The baking powder helps them rise just right, while a pinch of salt enhances all those sweet flavors. And, of course, cocoa powder is what gives us that delicious chocolatey swirl!
You’ll find the full ingredient list with measurements in the recipe card below!
How to Make This Marbled snowflake cookies!, Step-by-Step
Now, let’s get our hands a little floury and make these cookies! Here’s how:
- Preheat your oven to 350°F (175°C) and line a baking sheet with parchment paper. This step is crucial for easy cookie removal later!
- In a mixing bowl, cream together the softened butter and granulated sugar until light and fluffy. This might take a few minutes, but it’s worth the effort for that perfect texture.
- Add the egg and vanilla extract to the butter mixture, and mix until well combined. You’ll love how fragrant this makes your kitchen!
- In a separate bowl, whisk together the flour, baking powder, cocoa powder, and salt. This is where we bring all the dry ingredients together.
- Gradually add the dry ingredients to the wet mixture, stirring until just combined. Don’t overmix; we want those cookies to be soft and tender!
- Divide the dough in half. Leave one half as is and mix cocoa powder into the other half to create the chocolate dough. This is where the magic happens!
- Scoop tablespoons of each dough and alternate them on the baking sheet to create a marbled effect. You can use a toothpick to swirl them together a bit for extra flair.
- Bake for 10-12 minutes or until the edges are lightly golden. Keep an eye on them; you want them just right!
- Allow to cool on the baking sheet for a few minutes before transferring them to a wire rack. Dust with powdered sugar before serving for that snowy finish!
Pro Tips for the Best Results
Here are a few tips to ensure your marbled snowflake cookies turn out perfectly every time:
- Make sure your butter is softened but not melted. This will help create that light and fluffy texture we’re aiming for.
- Chill the dough for about 30 minutes before scooping if it feels too sticky. This will make it easier to handle and shape.
- For a fun twist, feel free to add some festive sprinkles on top before baking, adding a pop of color to your cookies!
Serving Suggestions
These marbled snowflake cookies are as versatile as they are delicious! Here are some fun ways to serve them:
- Arrange them on a festive platter with other holiday treats for a beautiful dessert table.
- Pair them with a warm cup of cocoa or spiced tea for a cozy afternoon snack.
- Gift them in a cute tin or box, tied with a ribbon, to share the love with friends and family.
Storage and Make-Ahead Tips
If you’re planning to bake these cookies in advance, here’s how to store them:
- Store the baked cookies in an airtight container at room temperature for up to a week. They’ll stay fresh and delicious!
- You can also freeze the dough before baking. Just wrap it tightly in plastic wrap and store it in the freezer for up to three months. When you’re ready to bake, simply thaw it overnight in the fridge and proceed with baking.

Marbled snowflake cookies!
Ingredients
Method
- Preheat oven to 350°F (175°C) and line a baking sheet with parchment.
- Cream butter and sugar until fluffy, then add egg and vanilla, mixing well.
- Mix dry ingredients separately, then combine with wet ingredients to form dough.
- Divide dough in half; mix cocoa into one half for chocolate dough.
- Scoop and alternate doughs on baking sheet to create marbled effect; bake 10-12 mins. Cool and dust with powdered sugar.
Notes
Loved this recipe? Save it to your favorite Pinterest board so you can easily find it later! It’s the perfect way to keep all your sweet ideas in one place. ✨
