Oven Roasted Roast Beef: A Timeless Classic, Elevated
Hello, friends! Victoria here, and today we’re embarking on a culinary journey to create a dish that evokes warmth, comfort, and a touch of elegance: Oven Roasted Roast Beef. This isn’t just about cooking; it’s about creating a centerpiece for cherished moments, a dish that speaks of tradition and love.
Imagine the aroma filling your kitchen, the tender slices melting in your mouth, the shared laughter around the table. This recipe is more than just instructions; it’s an invitation to create lasting memories.
Why You’ll Love This Oven Baked Roast Beef Recipe
This recipe isn’t just another roast beef recipe; it’s a carefully crafted guide to achieving perfection every time. It’s about understanding the nuances of the meat, the dance of heat, and the magic of simple ingredients coming together to create something extraordinary. This is a roast beef recipe that even my grandmother would be proud of!
- Effortless Elegance: Impress your guests (or yourself!) with a dish that looks and tastes like it came from a high-end restaurant, with minimal effort.
- Flavor Explosion: The combination of simple seasonings enhances the natural flavors of the beef, creating a symphony of taste.
- Perfectly Tender: Follow our tips and tricks to achieve a roast that is juicy and tender, never dry or tough.
- Versatile: Enjoy it hot for dinner, cold in sandwiches, or as part of a charcuterie board. The possibilities are endless!
- Make-Ahead Friendly: Prepare the roast ahead of time for easy entertaining.
Ingredients for the Perfect Roast Beef In Oven
The beauty of this recipe lies in its simplicity. High-quality ingredients are key to achieving the best results. Here’s what you’ll need:
- Beef Roast: 3-4 pound beef roast (Ribeye, Sirloin, or Top Round are excellent choices).
- Olive Oil: 2 tablespoons.
- Salt: 2 teaspoons.
- Black Pepper: 1 teaspoon, freshly ground.
- Garlic Powder: 1 teaspoon.
- Onion Powder: 1 teaspoon.
- Dried Thyme: 1/2 teaspoon.
- Dried Rosemary: 1/2 teaspoon.
How to Roast Beef In Baking Dish: Step-by-Step Instructions
This is where the magic happens! Follow these steps carefully, and you’ll be rewarded with a roast beef that is both beautiful and delicious.
- Prepare the Beef: Pat the roast dry with paper towels. This is crucial for achieving a beautiful sear.
- Season Generously: In a small bowl, combine the salt, pepper, garlic powder, onion powder, thyme, and rosemary. Rub the mixture all over the roast, ensuring it’s evenly coated.
- Sear the Roast: Heat the olive oil in a large oven-safe skillet over medium-high heat. Sear the roast on all sides until browned, about 3-4 minutes per side. Searing locks in the juices and adds depth of flavor.
- Roast in the Oven: Place the skillet with the seared roast in a preheated oven at 325°F (160°C). Roast for the appropriate time, depending on your desired level of doneness. Use a meat thermometer to ensure accuracy.
Here’s a guide to internal temperatures:
- Rare: 125-130°F (52-54°C)
- Medium-Rare: 130-135°F (54-57°C)
- Medium: 135-140°F (57-60°C)
- Medium-Well: 140-145°F (60-63°C)
- Well Done: 145°F+ (63°C+)
If you prefer your roast beef well done, be sure to keep a close eye on the meat thermometer to avoid overcooking.
- Rest the Roast: Once the roast reaches your desired temperature, remove it from the oven and tent it loosely with aluminum foil. Let it rest for at least 15-20 minutes before slicing. This allows the juices to redistribute, resulting in a more tender and flavorful roast. The resting period is crucial!
- Slice and Serve: Slice the roast thinly against the grain. Serve immediately and enjoy!
Pro Tips for the Best Roast Beef Oven Recipes
These insider tips will take your roast beef from good to extraordinary.
- Choose the Right Cut: The cut of beef significantly impacts the final result. Ribeye is known for its rich flavor and marbling, while Sirloin is leaner and more affordable. Top Round is a good option for slicing into sandwiches.
- Bring the Beef to Room Temperature: Allow the roast to sit at room temperature for about an hour before cooking. This helps it cook more evenly.
- Use a Meat Thermometer: A meat thermometer is your best friend when it comes to roasting beef. It’s the only accurate way to determine the internal temperature and ensure perfectly cooked roast beef in oven.
- Don’t Overcook: Overcooked roast beef is dry and tough. Err on the side of undercooking, as the roast will continue to cook slightly during the resting period.
- Rest is Key: Allowing the roast to rest is crucial for achieving a tender and juicy result. Don’t skip this step!
Common Mistakes to Avoid When Making Roast Beef On Baking Tray
We’ve all been there! Here are some common pitfalls to avoid when roasting beef.
- Not Searing the Roast: Searing adds a depth of flavor and helps to lock in the juices.
- Overcrowding the Pan: If you’re roasting vegetables alongside the beef, make sure they’re not overcrowded. Overcrowding can steam the vegetables instead of roasting them.
- Not Allowing Enough Resting Time: Rushing the resting period can result in a dry roast.
- Slicing Too Thick: Thin slices are more tender and easier to eat.
Variations: Roast Beef In Oven Dish, Your Way
This recipe is a blank canvas! Feel free to experiment with different seasonings and flavors to create your own signature roast beef.
- Herb Crusted: Mix fresh herbs like rosemary, thyme, and parsley with breadcrumbs and garlic. Press the mixture onto the roast before baking.
- Garlic Infused: Insert slivers of garlic into the roast before searing.
- Red Wine Reduction: Create a rich and flavorful sauce by deglazing the pan with red wine after roasting.
- Spice Rub: Add a touch of heat with a pinch of chili powder or smoked paprika to the seasoning blend.
Storing Leftover Roasted Beef In Baking Dish
Proper storage is essential to maintain the quality and flavor of your leftover roast beef. Here’s how to do it:
- Refrigerate: Store leftover roast beef in an airtight container in the refrigerator for up to 3-4 days.
- Freeze: For longer storage, freeze the roast beef. Wrap it tightly in plastic wrap, then in aluminum foil. Freeze for up to 2-3 months. Thaw in the refrigerator overnight before using.
FAQ: Your Roast Beef Questions Answered
Let’s address some common questions about roasting beef.
- Can I use a different cut of beef? Absolutely! Sirloin, Top Round, and Eye of Round are all good options. Adjust the cooking time accordingly.
- How do I know when the roast is done? Use a meat thermometer! It’s the most accurate way to determine the internal temperature.
- Can I roast vegetables alongside the beef? Yes! Potatoes, carrots, and onions are all great choices. Add them to the pan about an hour before the roast is done.
- What if I don’t have an oven-safe skillet? You can sear the roast in a regular skillet and then transfer it to a roasting pan.
Serving Suggestions: Complementing Your Roast Beef Oven Dish
Roast beef is a versatile dish that pairs well with a variety of sides. Here are a few suggestions:
- Mashed Potatoes: A classic pairing!
- Roasted Vegetables: Carrots, potatoes, Brussels sprouts, and asparagus are all excellent choices.
- Yorkshire Pudding: A traditional British side dish that’s perfect for soaking up the juices.
- Green Salad: A light and refreshing salad provides a nice contrast to the richness of the beef.
- Horseradish Sauce: A tangy and flavorful sauce that complements the beef perfectly.
Enjoy your perfectly roasted beef! Remember, the key to a truly exceptional roast lies in the quality of the ingredients, the precision of the cooking, and the joy you bring to the process. Happy cooking!
If you loved this recipe, check out some of my other favorites:
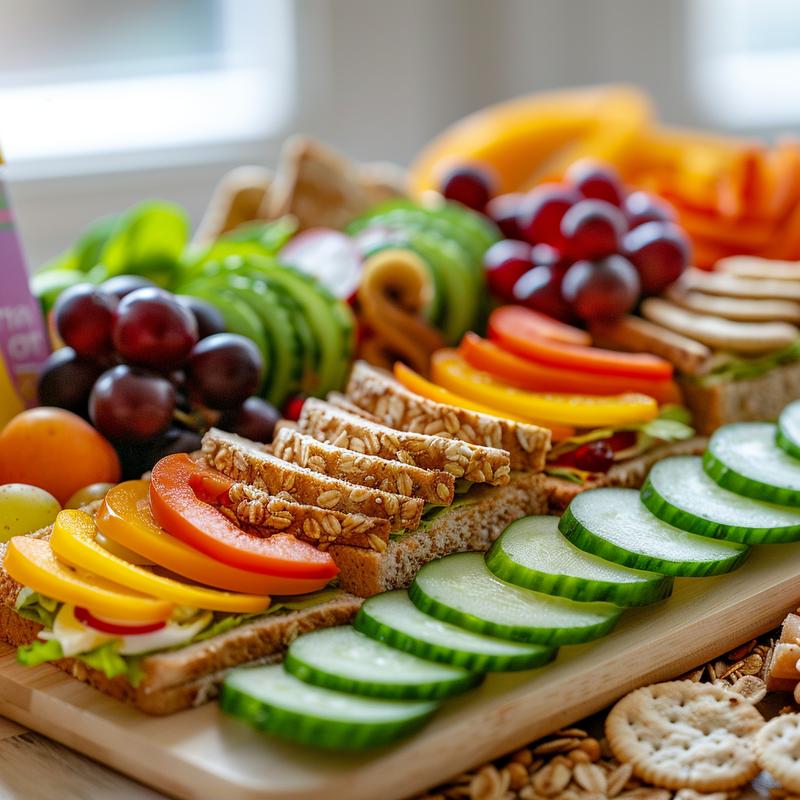

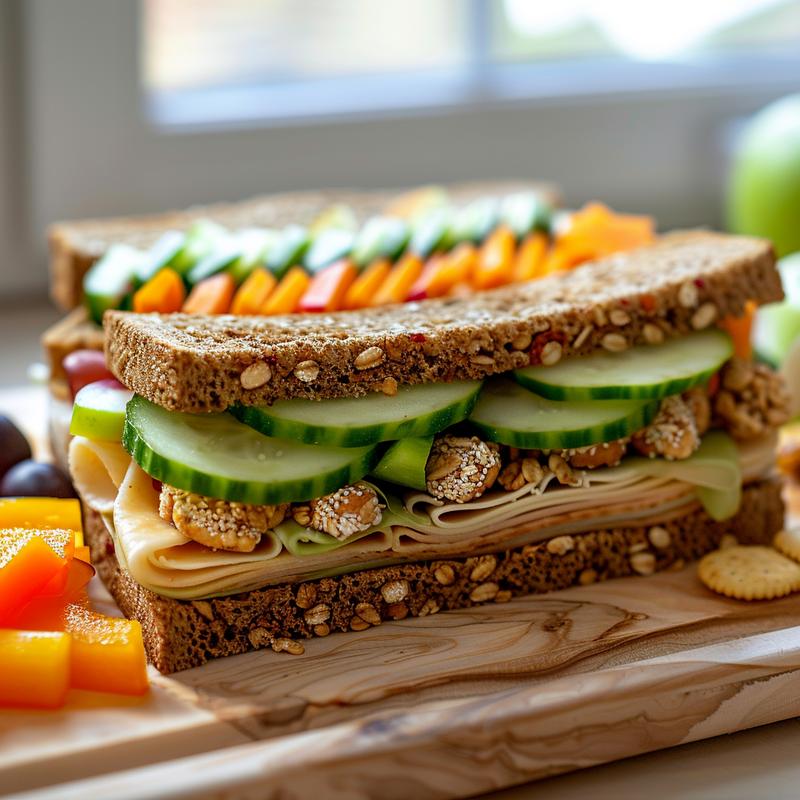
How to pack a school lunch for your child
Ingredients
Method
- Choose a main course: Consider preferences and dietary needs.
- Select a fruit and vegetable: Wash and cut into pieces.
- Add a healthy snack: Choose a nutritious and appealing snack.
- Pack a drink: Water is a great option; limit sugary drinks.
- Pack the lunchbox: Arrange food, include napkin and utensils.
- Add a note (optional): A short note can brighten the day.
- Keep it cool: Use an ice pack for perishable items.
Notes
Loved this recipe? Save it to your favorite Pinterest board so you can easily find it later! ✨